
This blog post is a quick walk-through and will show how to use let’s encrypt certificates with Azure WebApps. As prerequisites I assume that the following things are done:
- App Service and WebApp is already up and running
- App Service is at least B1 (pricing tier Basic 1)
- A custom domain is already configured
There are 3 main steps that I will describe in this post:
- Add service account and application to Active Directory
- Add the let’s encrypt site extension
- Force https (optional)
Step 1: Add service account to Active Directory
We will use the let’s encrypt site extension for our web app and we need to allow this extension to access and write some information to our web app. The site extension will request a certificate, store it and configure it. To achieve that, the extension needs access to some resources. So, let’s register a new app to our active directory and give it the correct permissions.
Step 1.1: add application registration
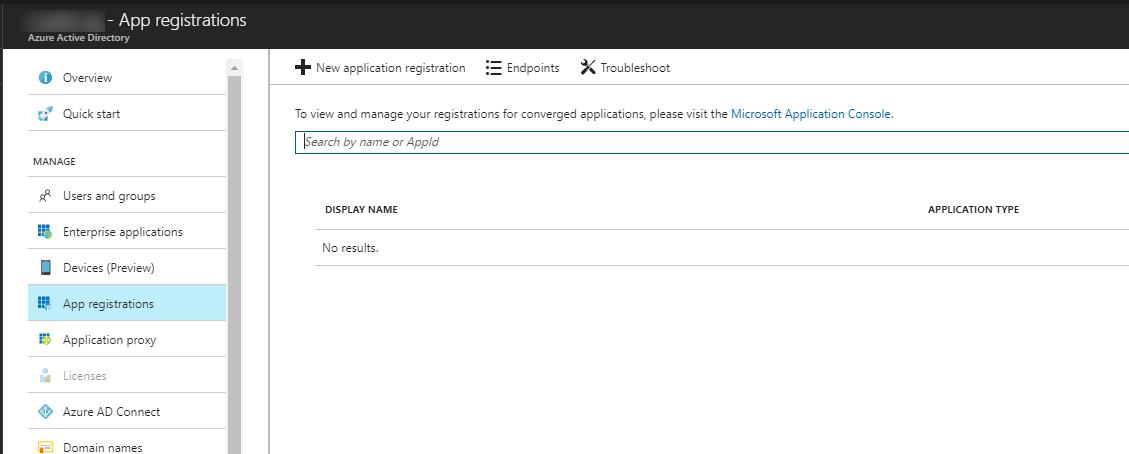
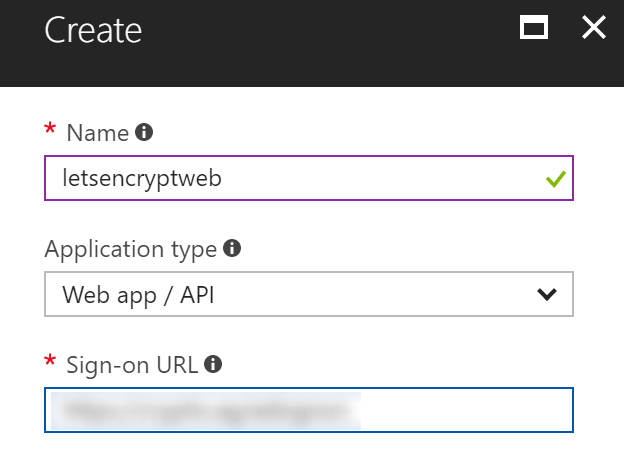
Navigate to your active directory – App registrations and add a “New application registration”. Give it a speaking name like “letsencryptweb” and save it:
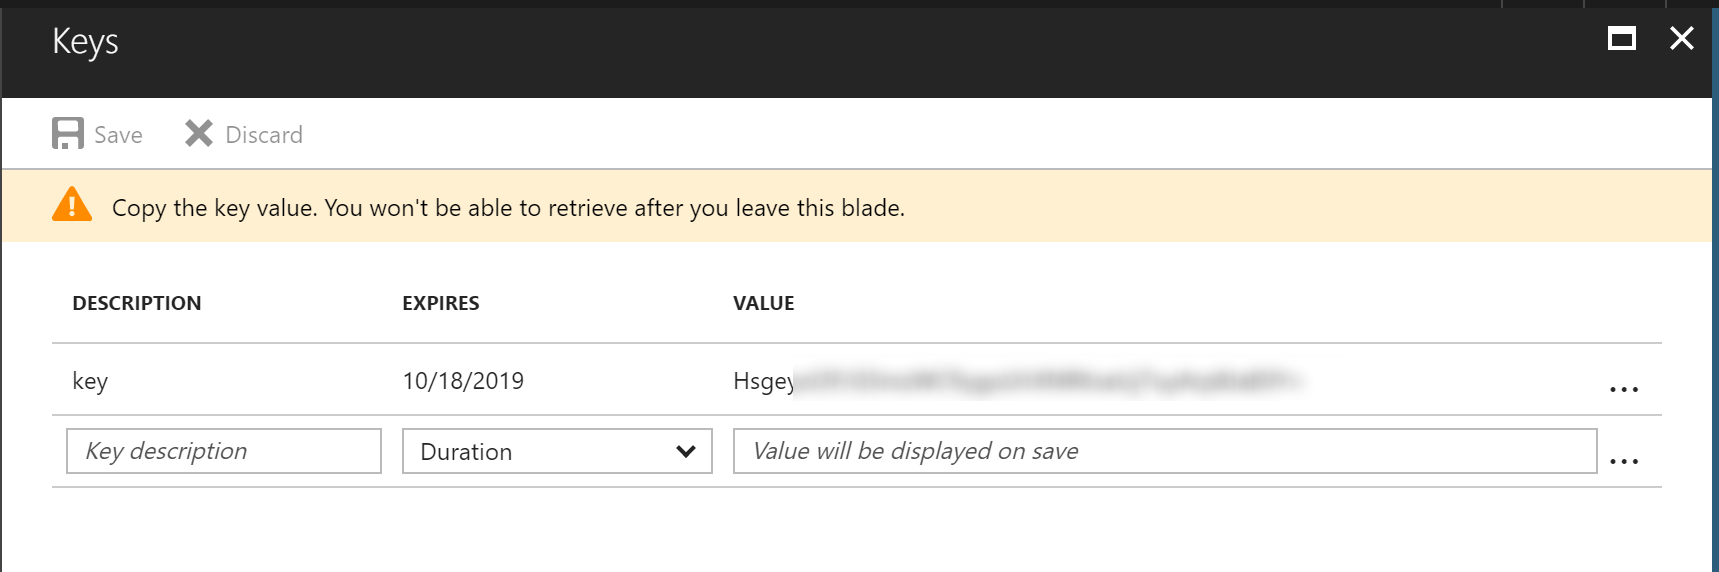
Step 1.2: create a client secret
Open the newly created application and remember/copy the client id (=application id), because we need it later. Navigate to the keys and create a new key. After the creation – copy it because we will use it later as client secret:
Step 1.3: permissions for the service
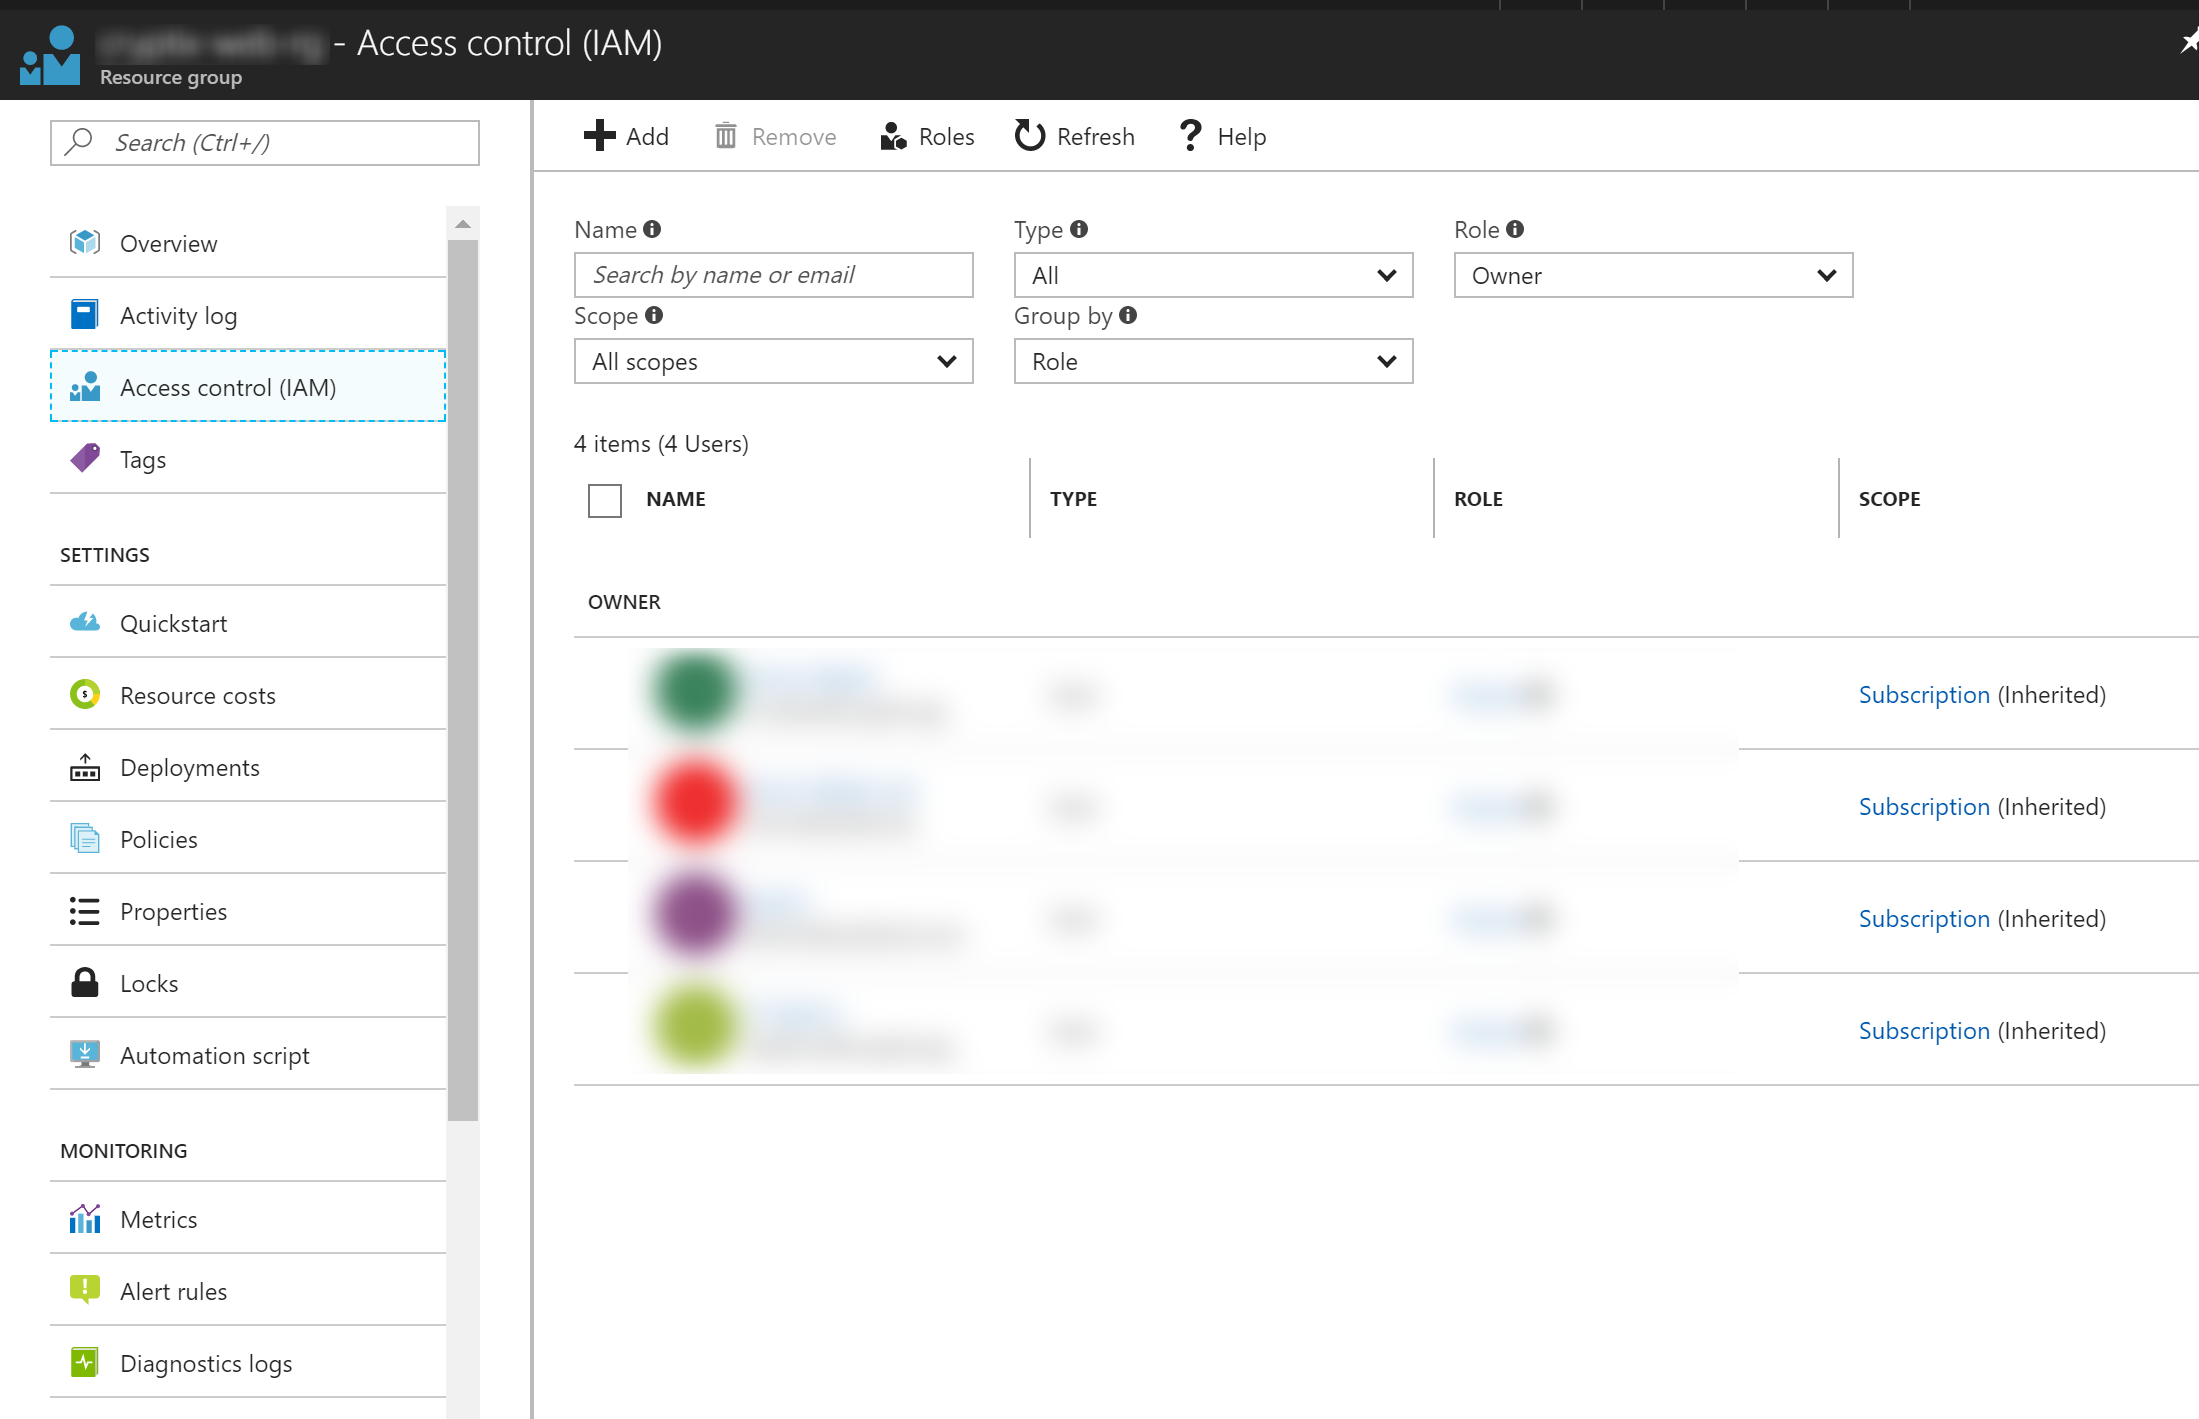
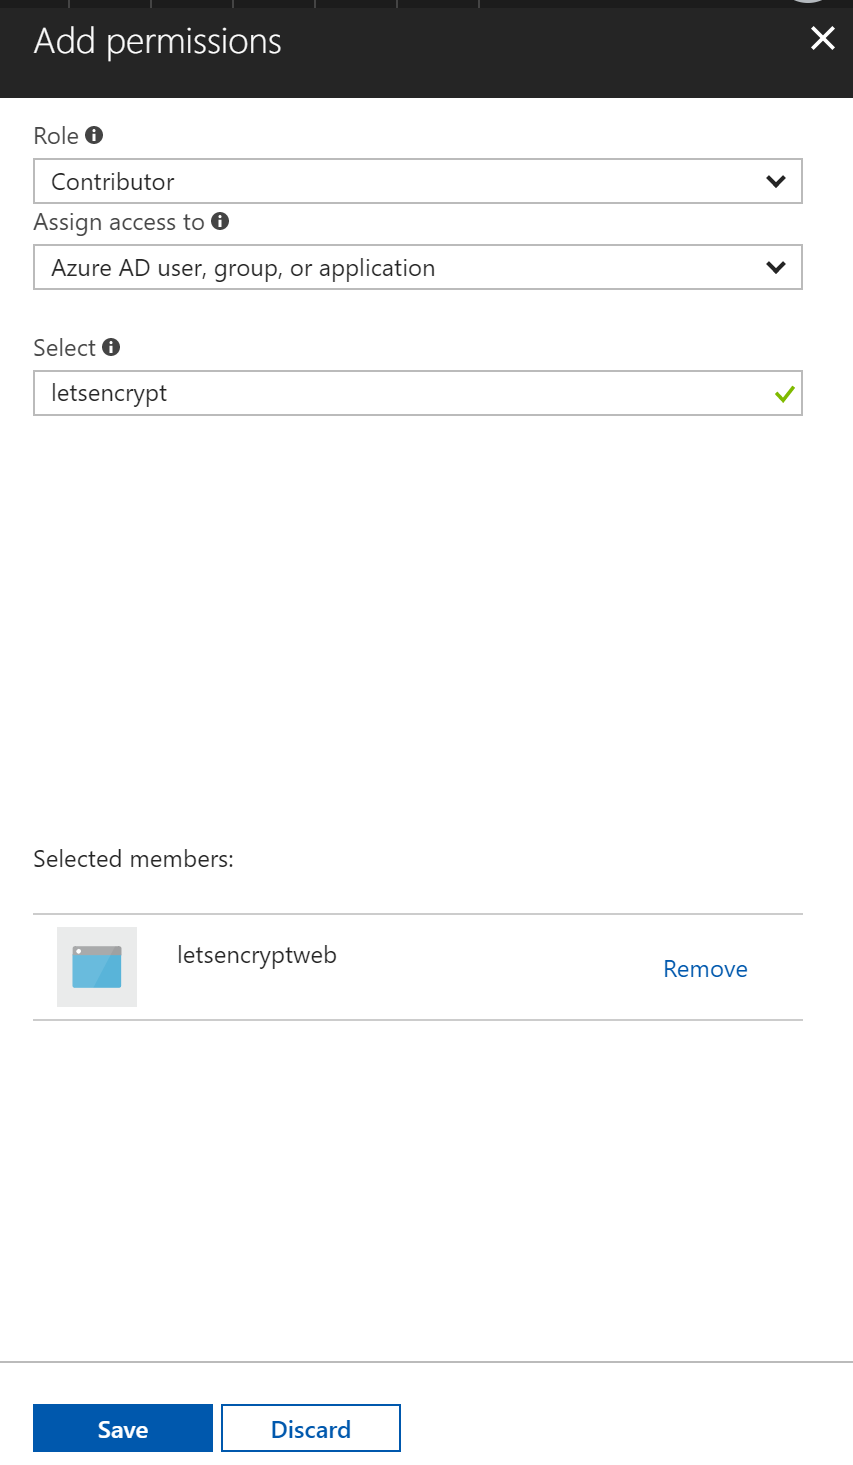
The application is registered, we created a key, so we just need to give the service principal permissions to access our resources. You can give the principal permissions to the whole subscription, but I recommend to give it just access for the resource group – so:
Go to your resource group which contains the web app, select access control (IAM) and add the new service principal (application) to the subscription as contributor:
That’s it – the basic active directory configuration is done, so let’s continue with the site extension.
Step 2: Add the let’s encrypt site extension
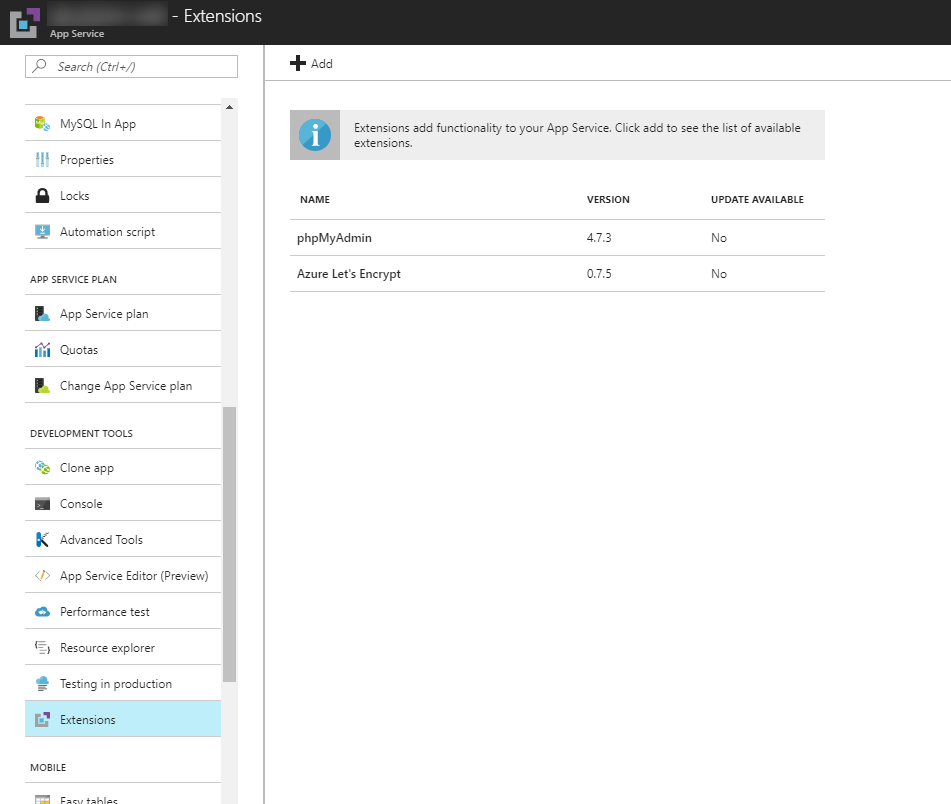
Open your web app and navigate to the extensions. If you haven’t yet used it, have a look on it. There are many nice extensions that you could easily install e.g. phpMyAdmin which is useful if you have a wordpress page with InApp database (as test environment).
For our purposes, we will use the let’s encrypt extension by sjkp (GitHub). Search for it and add it to your webapp (currently there are 2 with the same name plus one with x64, I always took the first one of the 32-bit extensions):
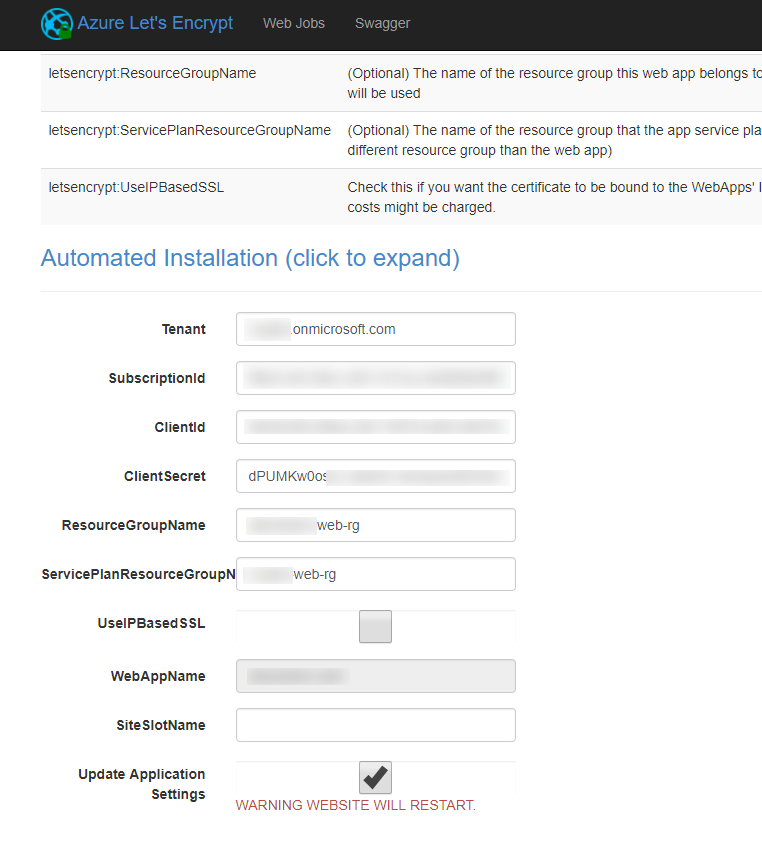
Select the site extensions and press the browse button to open the let’s encrypt configuration. This opens a nice configuration page where you can enter the information from the previous step:
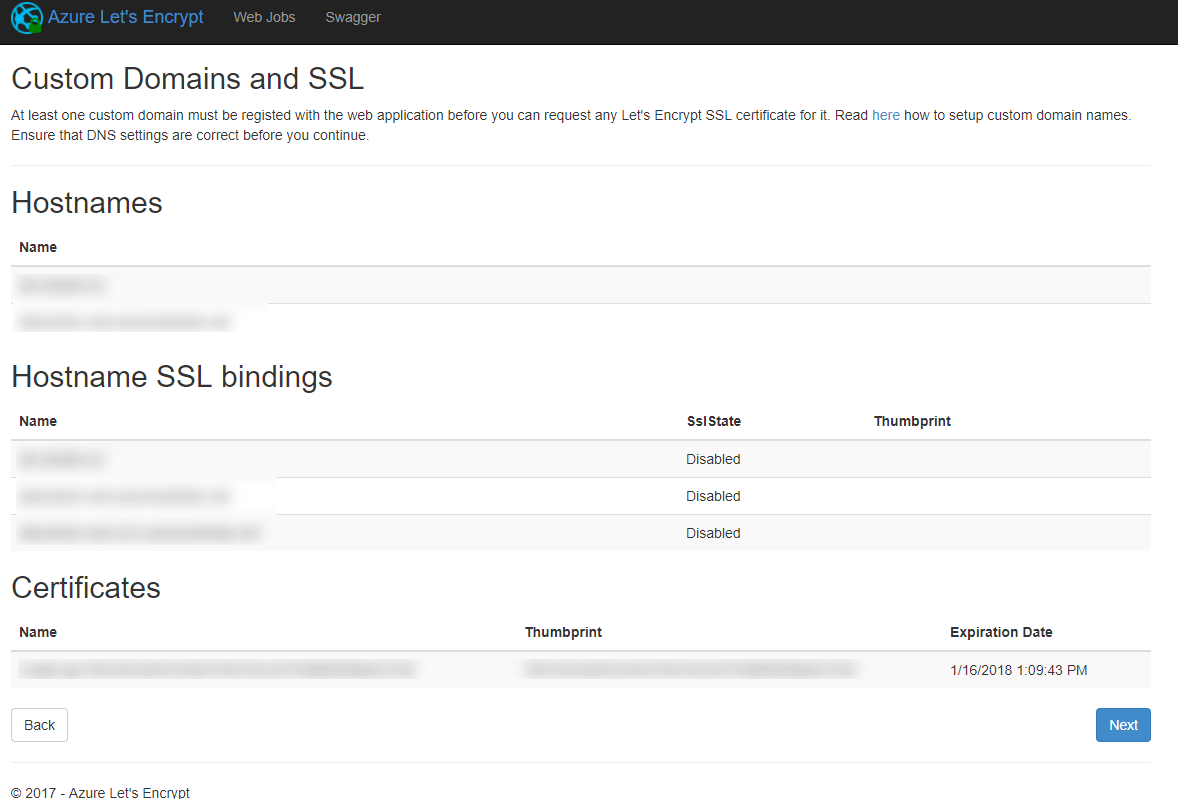
Go to the next screen which will give you an overview of your hostnames and certificates. The certificates will be empty if you do it the first time. If you have other pages with certificates, then you will see them in the certificates section:
The next screen shows you your hostname, select it, enter an email address and press the request and install certificate button. It will take some time as the site extension is now requesting the certificate and installs it to the webapp, so be patient and wait for the “Certificate successfully installed” message:

You should now see your hostname in the certificates section and it should be possible to access your site via https.
If you have subdomains, then repeat the previous step or select all hostnames in the previous step.
After that step, the certificates are installed. The final step is optional, but it forces the use of https:
Step 3: use https by default
If you want to force your visitors to use https, you can simply add the following piece of code to your web.config file:
<system.webServer>
 <rewrite>
  <rules>
   <rule name="Redirect to https">
    <match url="(.*)"/>
    <conditions>
     <add input="{HTTPS}" pattern="Off"/>
    </conditions>
    <action type="Redirect" url="https://{HTTP_HOST}/{R:1}"/>
   </rule>
  </rules>
 </rewrite>
</system.webServer>
Just navigate to the webapp and open the “app service editor”. This will allow you to directly modify it (which should not be done at the production environment).
Additional information
Let’s Encrypt Site Extension: https://github.com/sjkp/letsencrypt-siteextension
Let’s Encrypt Site Extension – How to install: https://github.com/sjkp/letsencrypt-siteextension/wiki/How-to-install
Let’s Encrypt Site Extension – Troubleshoot: https://github.com/sjkp/letsencrypt-siteextension/wiki/Troubleshoot
Special thanks to Simon J.K. Pedersen: http://wp.sjkp.dk/


4 Responses
[…] Let’s encrypt for Azure WebApps by Armin Reiter […]
Thanks Armin for detailed article. Followed and enabled a free SSL certificate on my site.
Do you know if Azure Let’s Encrypt extension supports wildcard certs?
Thanks armin